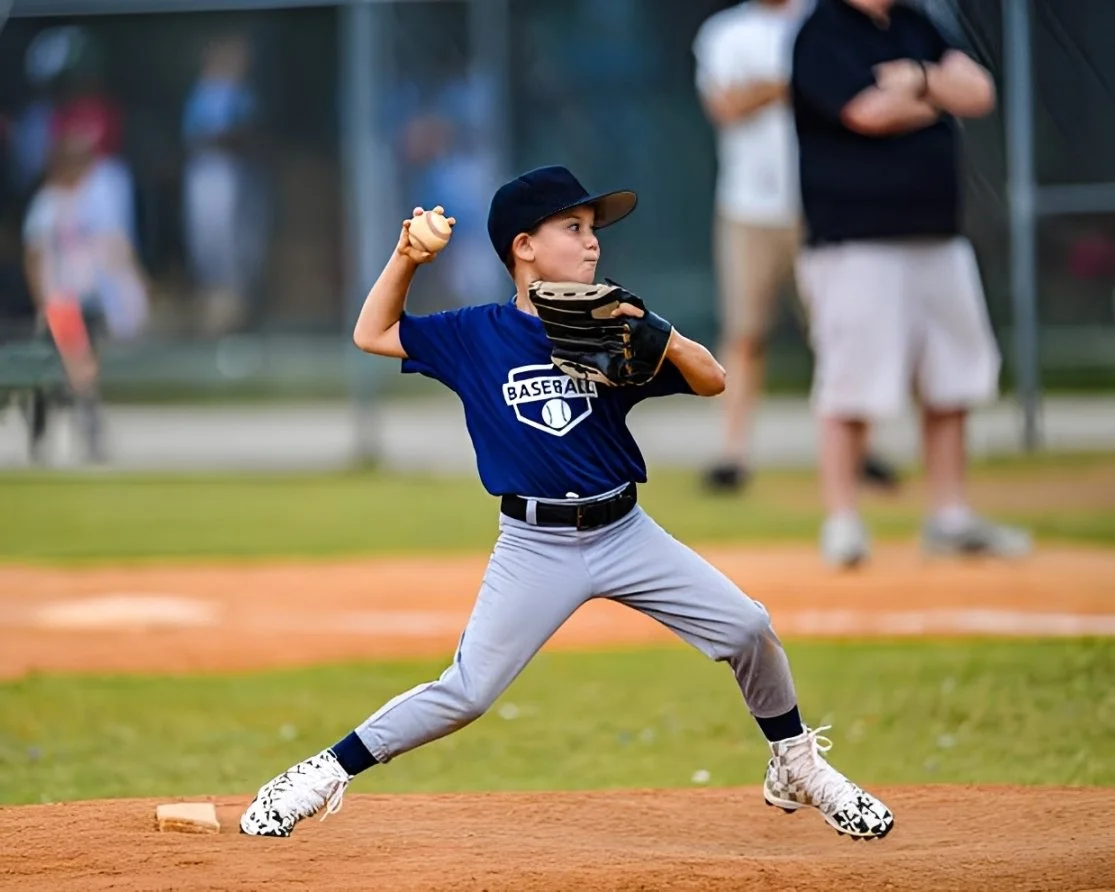
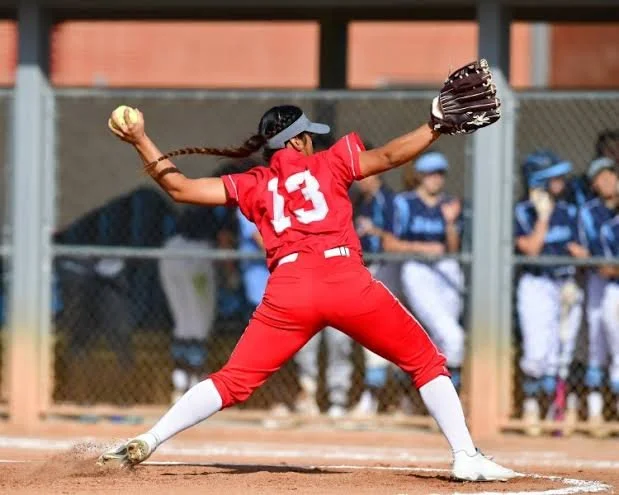
As softball and baseball season picks up, many players are spending more time on the field, whether it's practices, tournaments, or league games. While sports are a great way to stay active, repetitive throwing motions can place significant stress on the elbow.
One injury that often goes unnoticed in its early stages is a UCL injury. While it's frequently associated with professional baseball pitchers, UCL injuries can affect athletes of all ages and skill levels, including recreational players and those returning to sport after time away.
Here's what you need to know about UCL injuries, how to recognize the signs, and what recovery may involve.
What is a UCL Injury?
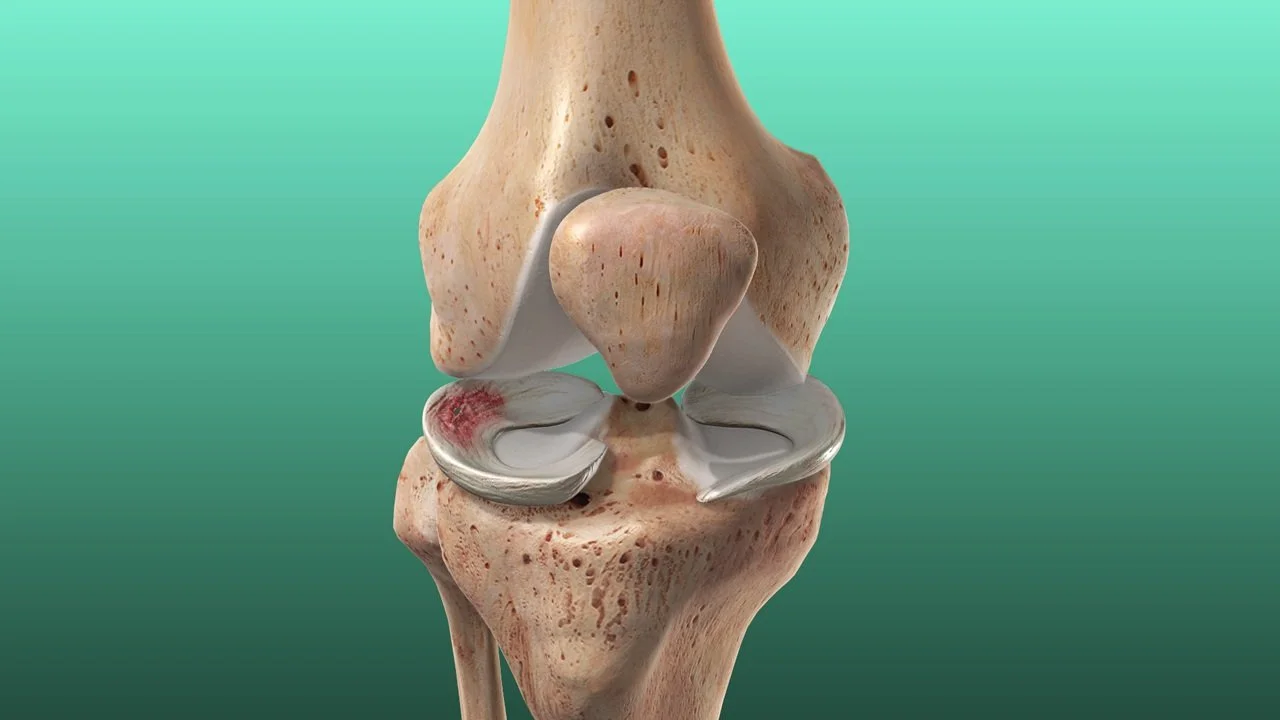
The ulnar collateral ligament (UCL) is a strong band of connective tissue located on the inside (medial side) of the elbow. Its primary role is to stabilize the joint, especially during repetitive overhead movements like throwing. During a throw, the UCL helps prevent the elbow from moving too far outward under force.
A UCL injury occurs when this ligament becomes:
Overstretched (sprained)
Partially torn
Completely torn
These injuries often develop gradually due to repetitive stress but can also happen suddenly during a forceful throw or awkward movement.
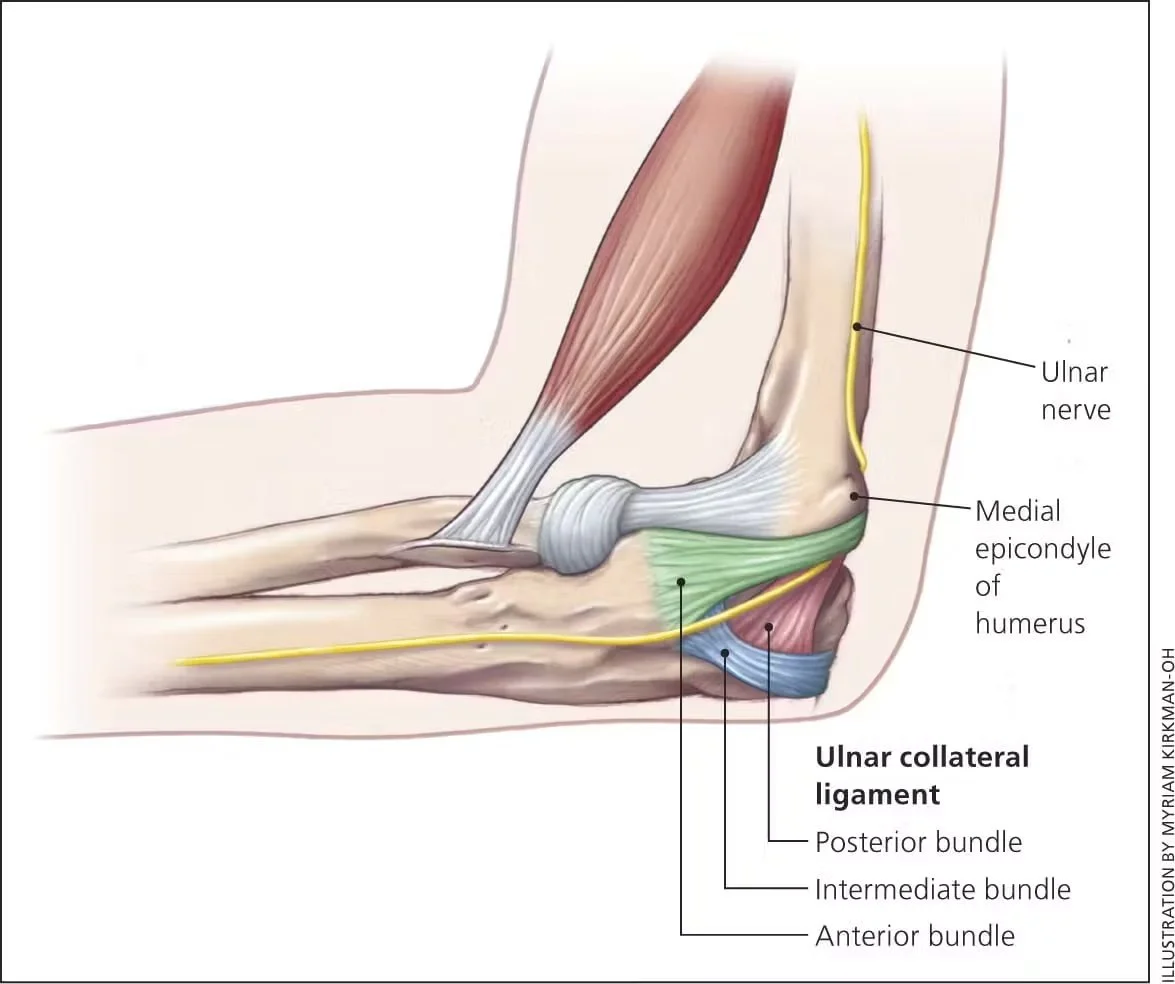
The Anatomy Behind the Injury
Several structures work together to keep the elbow stable and functioning properly:
Ulnar collateral ligament (UCL): The primary stabilizer on the inside of the elbow.
Flexor-pronator muscles: Forearm muscles that help support and protect the ligament.
Ulnar nerve: A nerve that runs close to the UCL and can become irritated when the area is inflamed.
Elbow joint: The connection between the upper arm bone (humerus) and the two forearm bones (ulna and radius).
You can think of the UCL as one of the elbow's built-in stabilizers. If it's repeatedly overloaded without adequate recovery, it can begin to weaken and lose its ability to support the joint effectively.
Who is Most at Risk?
Although professional athletes often make headlines for UCL injuries, they're far from the only people affected.
Players who throw frequently are at increased risk, including:
Pitchers
Catchers
Risk can increase when athletes:
Suddenly increase throwing volume
Participate in multiple games or tournaments in a short period
Return to sport without rebuilding strength and endurance
Other athletes
Tennis players
Volleyball players
Javelin throwers
Recreational athletes
These injuries aren't limited to competitive sport.
They can also affect:
Pickleball players
Golfers
Weekend warriors returning to activity after a break
Youth and adolescent athletes
Young athletes who play a single sport year-round or participate on multiple teams may place repeated stress on developing tissues, increasing their risk of overuse injuries.
Adults returning to activity
Many adults become more active during the warmer months but may not gradually build back their strength beforehand.
Common situations include:
Joining a recreational league after years away from sport
Playing several games over a weekend
Increasing throwing volume too quickly
Taking up a new sport or activity
The combination of repetitive movement and deconditioned muscles can place significant strain on the elbow.
What Does a UCL Injury Feel Like?
Symptoms can range from mild discomfort to a feeling of significant instability.
Common signs include:
Pain along the inside of the elbow
Sharp pain during throwing
Aching that worsens after activity
Reduced throwing speed or performance
A feeling that the elbow is unstable or "giving way"
Weakness through the arm
Tenderness along the inside of the elbow
Some athletes also describe hearing or feeling a "pop" at the time of injury.
Other symptoms may include:
Stiffness
Swelling
Reduced range of motion
Numbness or tingling into the ring and little finger if the ulnar nerve becomes irritated
Many athletes describe it as: "My arm just doesn't feel right anymore." “I can't throw as hard as I used to." “I can still play, but I'm sore for days afterward." These early warning signs shouldn't be ignored.
How is a UCL Injury Diagnosed?
Diagnosis begins with a comprehensive assessment by a healthcare professional, such as a physiotherapist or physician.
Your assessment will include a discussion about:
Your symptoms
Your sport or activity participation
Recent changes in training volume
Previous injuries
When your symptoms began
A physical examination will then assess:
Elbow range of motion
Strength
Joint stability
Throwing mechanics or sport-specific movements when appropriate
Your physiotherapist may also perform specific clinical tests that place controlled stress on the UCL to determine whether familiar pain or instability is reproduced.
In some cases, imaging may be recommended.
This can include:
X-rays: To rule out bony injuries or structural concerns
Ultrasound: To assess the ligament dynamically
MRI: The most detailed imaging option for evaluating UCL damage
However, imaging is not always necessary. Many UCL injuries can be diagnosed clinically and respond well to conservative treatment.
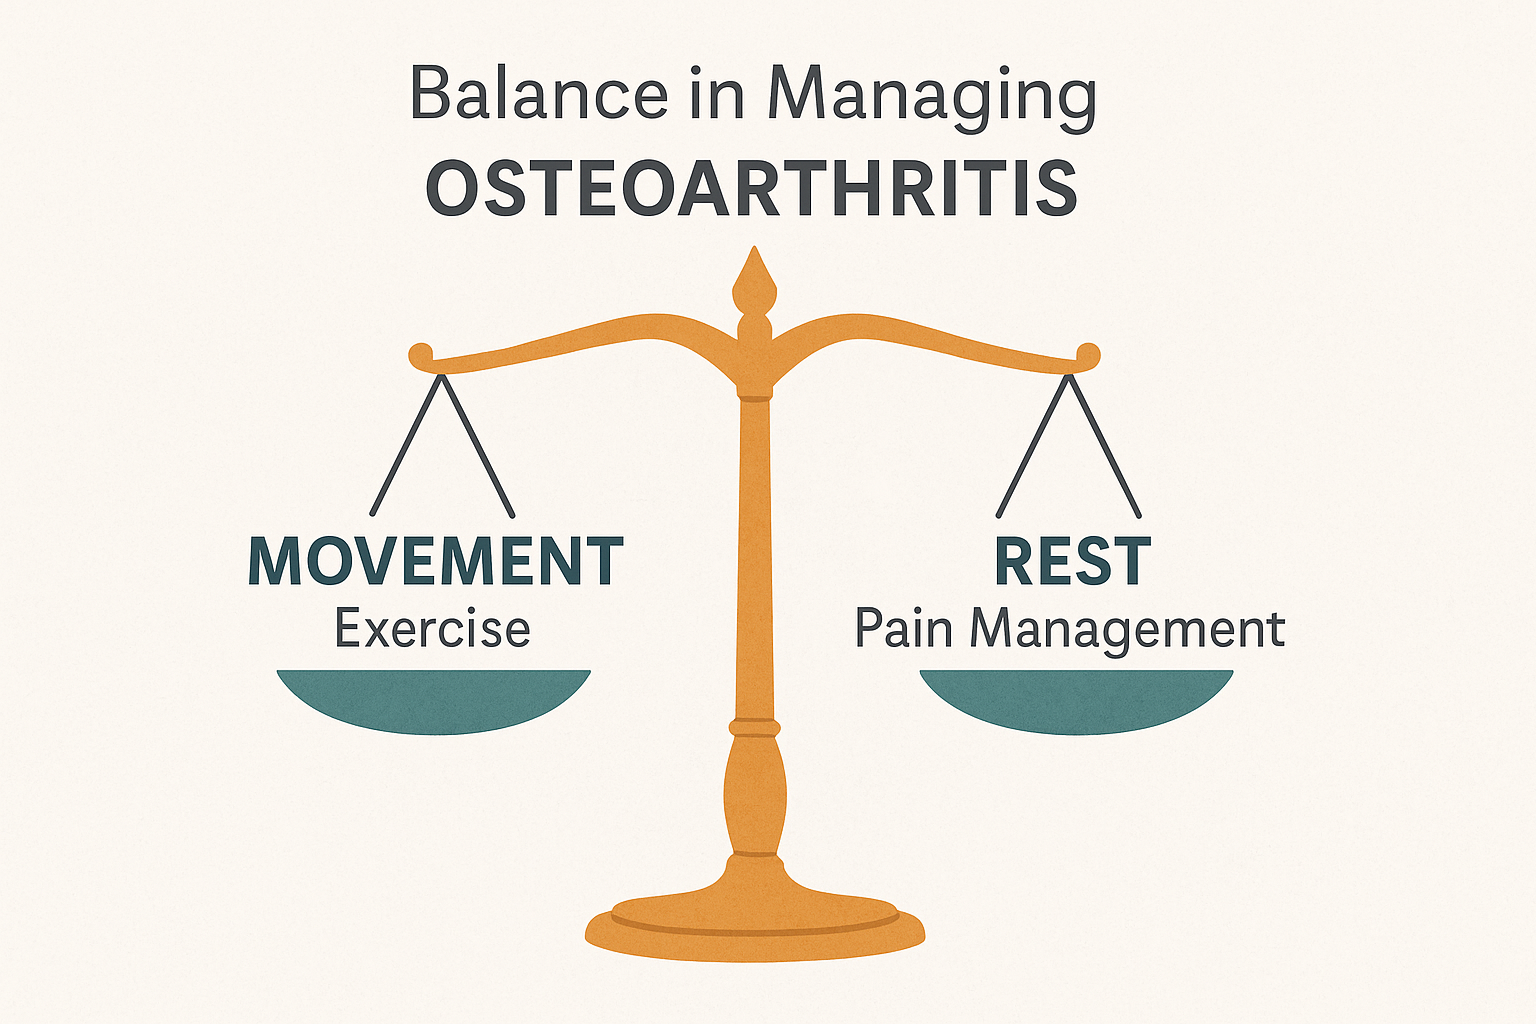
How is a UCL Injury Treated?
The good news is that many UCL injuries can be managed successfully without surgery. Treatment focuses on reducing stress on the ligament while restoring strength, mobility, and movement patterns.
Every rehabilitation plan is individualized, but treatment often follows a progression similar to this:
Early phase (Weeks 1-3)
Goals:
Reduce pain and inflammation
Protect the ligament
Maintain mobility
Treatment may include:
Temporarily reducing aggravating activities
Ice for symptom management
Gentle range of motion exercises
Light forearm and shoulder activation exercises
The focus is on relative rest rather than complete immobilization.
Strengthening phase (Weeks 3-8)
As symptoms settle, strengthening becomes the priority.
Exercises often target:
Forearm muscles
Wrist strength
Shoulder stability
Rotator cuff strength
Upper back muscles
Core stability
Strong supporting muscles help reduce the load placed directly on the elbow.
Return to sport phase (Weeks 8-16+)
Once strength and control improve, a gradual return-to-sport program begins.
This may include:
Progressive throwing programs
Sport-specific drills
Plyometric exercises
Movement retraining
Load management strategies
The goal isn't simply to become pain-free, but to build resilience and reduce the risk of future injury.
What is the Healing Timeline?
Recovery will vary depending on the severity of the injury and how early treatment begins.
Mild UCL Sprain (6-8 weeks)
These minor overstretching injuries often respond very well to conservative management, including relative rest, activity modification, and a structured physiotherapy program.
Partial Tear (3-6 months)
Partial tears require a more comprehensive rehabilitation plan that gradually rebuilds strength, stability, and throwing tolerance over time. Conservative treatment is often successful but should be carefully progressed.
Complete Tear (9-18 months, if surgical)
More significant tears may require surgical repair or reconstruction, particularly for athletes participating in high-demand overhead sports. Post-surgical rehabilitation is extensive and focuses on restoring mobility, strength, and sport-specific mechanics.
It's important to remember that not every UCL injury requires surgery. Many recreational athletes recover successfully with non-operative treatment, especially when symptoms are addressed early.
When Should You See a Physiotherapist?
Consider booking an assessment if:
Elbow pain lasts longer than one to two weeks
Symptoms worsen during sport
You're losing strength or performance
Your elbow feels unstable
You experience a popping sensation
Numbness or tingling develops
Early intervention can help identify contributing factors before the injury progresses.
At Port Alberni Physiotherapy, our team can help assess your symptoms, identify contributing movement patterns, and create a personalized rehabilitation plan that supports a safe return to sport.
The Takeaway
Softball and baseball season are meant to be enjoyed, but repetitive throwing and sudden increases in activity can place unexpected stress on the body. While UCL injuries are commonly associated with elite athletes, they can affect anyone who regularly throws or participates in overhead sports. The good news is that most UCL injuries respond well to early treatment and a structured rehabilitation program.
If you're starting to notice pain on the inside of your elbow, don't wait for it to become a bigger issue. Addressing symptoms early can help you stay active and keep you doing the activities you enjoy.